As the weather warms up, our outdoor spaces become extensions of our homes, offering peaceful retreats and gathering places for friends and family. Creating a comfortable and inviting outdoor environment doesn’t require expensive store-bought furniture.
With some creativity, basic tools, and repurposed materials, you can craft functional and aesthetically pleasing outdoor furniture pieces that reflect your personal style. The juxtaposition of natural elements with practical design creates an ambiance that commercial furniture simply cannot replicate.
DIY outdoor furniture projects not only save money but also provide a profound sense of accomplishment and expression of creativity.
DIY Outdoor Furniture Ideas
These 12 DIY outdoor furniture ideas range from beginner-friendly weekend projects to more intricate endeavors, ensuring there’s something for every skill level and outdoor space configuration.
Whether you have a sprawling backyard or a modest balcony, these projects will help you maximize your outdoor living potential.
1. Pallet Lounge Sofa

Wooden pallets have become the quintessential starting point for many DIY furniture projects, and with good reason. Their sturdy construction and modular nature make them perfect building blocks for outdoor seating.
To create a pallet lounge sofa, start by thoroughly sanding several pallets to remove any splinters and rough edges. Stack and secure them to create the base and backrest of your sofa, ensuring proper stability. Add casters to the bottom for mobility if desired.
Complete your creation with weather-resistant cushions and pillows that complement your outdoor color scheme. The beauty of pallet furniture lies in its customizability – you can easily adjust the dimensions to fit your specific space requirements.
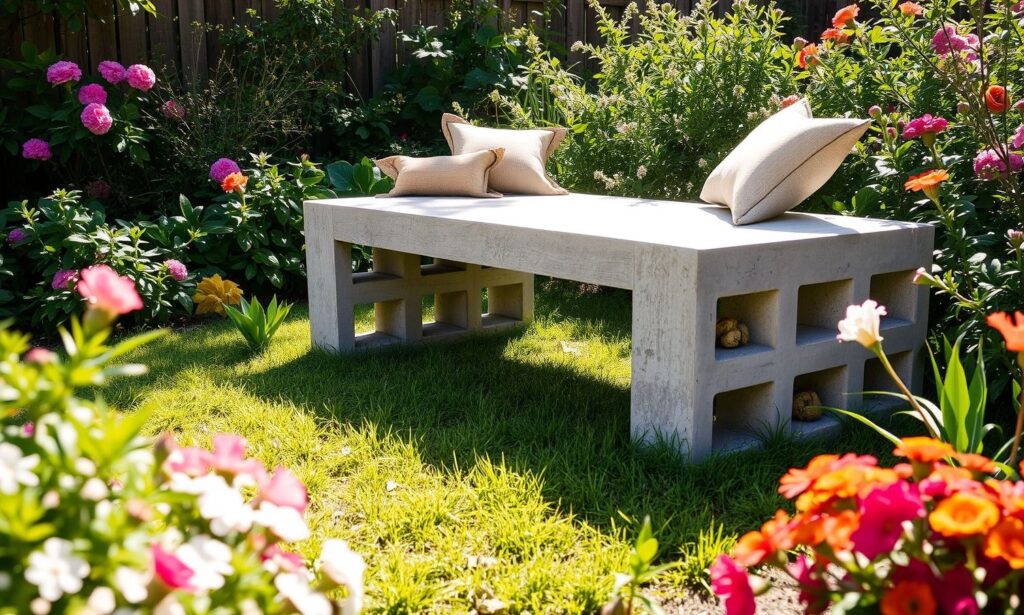
2. Concrete Block Bench

For a modern, industrial look that withstands the elements with minimal maintenance, consider a concrete block bench. This project combines affordability with durability in a striking way.
Arrange concrete blocks in an alternating pattern to create the base, leaving spaces for visual interest and reduced weight. Place pressure-treated 4×4 wooden beams across the top to form the seating surface.
Sand the wood thoroughly and apply multiple coats of outdoor sealant to protect it from moisture and UV damage. This bench requires no fasteners or adhesives, making it easily reconfigurable should you want to change your outdoor layout in the future.
3. Tire Ottoman

Repurpose old tires into versatile outdoor ottomans that provide both seating and storage functionality in your garden or patio area.
Begin by thoroughly cleaning a used tire and applying a coat of primer followed by outdoor paint in your preferred color. Wrap sisal rope around the outer circumference for a natural touch, or leave it painted for a sleeker look. Cut two circular pieces of plywood slightly larger than the tire’s diameter – one for the base and one for the top.
Attach the base to the bottom of the tire with strong adhesives or screws. Upholster the top piece with outdoor foam and weather-resistant fabric, then attach it using hinges to create a storage compartment inside the tire. This creative reuse project diverts waste from landfills while creating functional furniture.
4. Cedar Planter Bench

Combine seating with greenery by constructing a cedar planter bench that brings flora directly into your outdoor living space.
Use cedar boards to build two square or rectangular planters, leaving the tops open. Cedar naturally resists rot and insects, making it ideal for outdoor applications. Connect the two planters with 2x4s and cedar decking boards to create the seating area, maintaining sufficient spacing between boards for drainage.
Apply a clear, water-resistant sealer to all wooden components to enhance longevity. Fill the planters with your favorite flowers, herbs, or small shrubs to create a living frame for your seating arrangement. This dual-purpose piece maximizes limited space while creating a harmonious blend of functionality and nature.
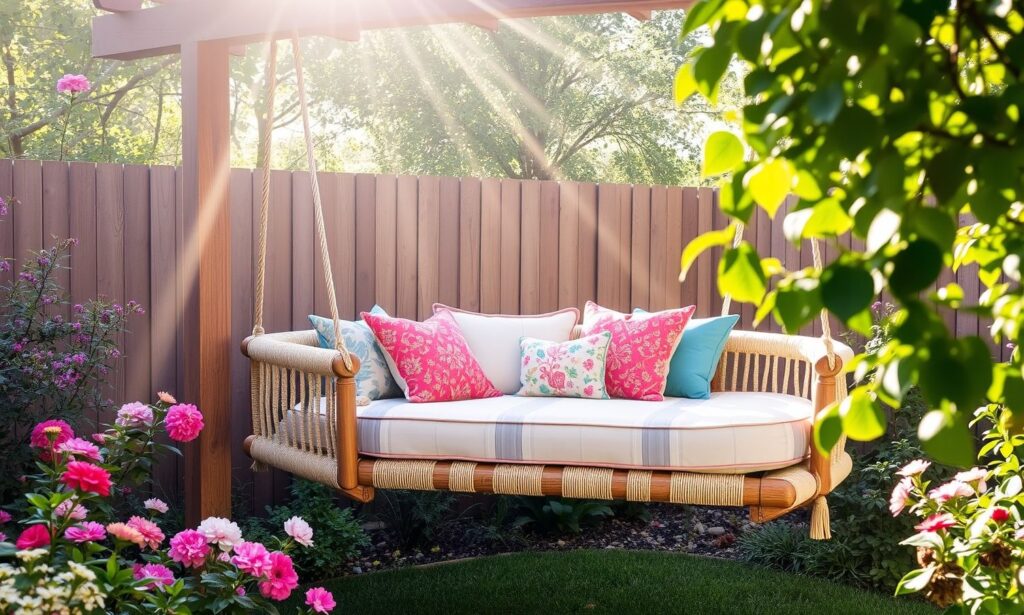
5. Hanging Daybed

Create the ultimate relaxation spot with a suspended daybed that gently sways in the breeze, elevating your outdoor lounging experience.
Construct a strong rectangular frame using pressure-treated 2x4s or 2x6s for the outer perimeter and supportive cross beams. Attach heavy-duty eye bolts at each corner and use galvanized chain or marine-grade rope to suspend the frame from a sturdy overhead structure, like a pergola or reinforced porch ceiling.
Add slats across the frame to support a twin-sized outdoor mattress or custom-cut foam wrapped in waterproof fabric. Top with weather-resistant pillows and perhaps a canopy for shade. Before use, test the strength of both your hanging mechanisms and the overhead support structure to ensure safety.
6. Log Side Tables

Embrace organic forms and textures by transforming tree stumps or logs into charming rustic side tables for your outdoor seating area.
Select logs with stable, flat ends, ideally from hardwood species for greater durability. Remove any bark and thoroughly dry the wood to prevent cracking and pest issues. Sand all surfaces until smooth, paying special attention to the top surface.
Apply multiple coats of exterior polyurethane to protect against moisture and enhance the natural wood grain. For added stability, attach rubber feet to the bottom or level the base if needed. These natural accent pieces bring warmth and texture to outdoor spaces and can be arranged in clusters of varying heights for visual interest.
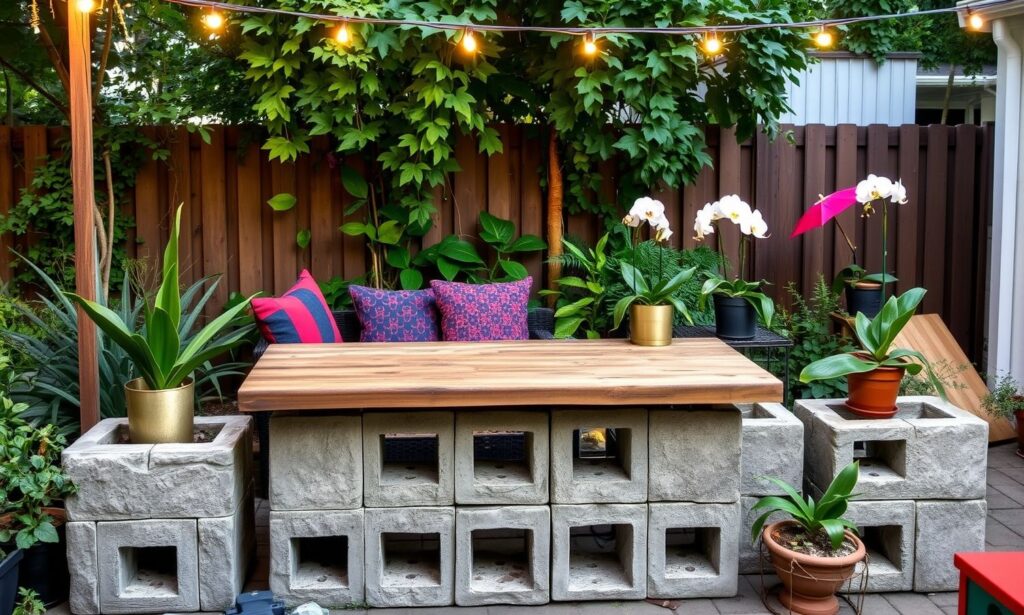
7. Cinder Block Bar

Create an outdoor entertaining station with a durable cinder block bar that stands up to the elements while serving as a focal point for gatherings.
Arrange cinder blocks in a configuration that provides your desired height and length, staggering them for stability. Insert wooden dowels through the block openings to create support rods if needed. For the bar top, use pressure-treated lumber, reclaimed wood planks, or even a concrete countertop for maximum durability.
Secure the top to the cinder block base using construction adhesive or concrete screws. Consider adding shelving within the open spaces of the blocks to store glasses or beverages. Paint the blocks in a color that complements your outdoor décor, or leave them in their natural state for an industrial aesthetic.
8. Rope Hammock Chair

Craft a suspended seating option that combines comfort with a touch of nautical charm, creating a perfect reading nook or contemplative space in your yard.
Start with a wooden dowel or metal rod approximately 24-30 inches long for the spreader bar. Drill holes at each end to thread your suspension rope. Use marine-grade rope to create the seating net through a series of knots – either macramé techniques for a bohemian look or traditional hammock knots for a classic appearance.
Ensure your support point (tree branch, beam, or specially installed hook) can safely hold at least 300 pounds. Leave extra rope at the top to create an adjustable hanging system. Add a cushion for extra comfort or use the chair as is for a breezy, lightweight seating option that can be easily stored when not in use.
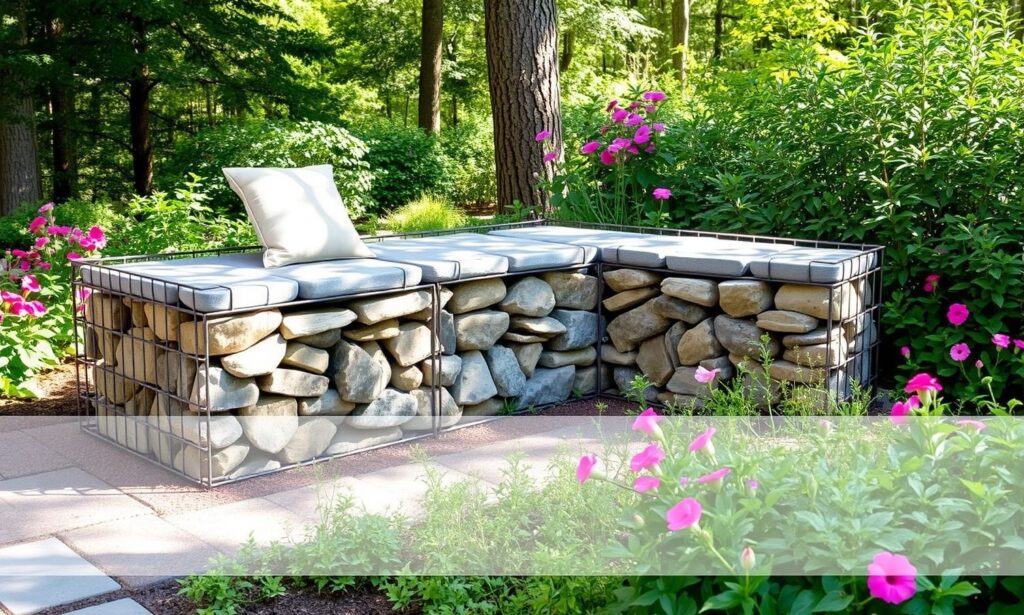
9. Gabion Bench

Create a striking contemporary seating solution that combines natural stone with metal for a piece that seamlessly blends with landscape elements.
Build or purchase gabion cages – wire mesh containers typically used for erosion control – sized to your desired bench dimensions. Fill the cages with locally sourced rocks, recycled glass chunks, or even collected driftwood for a personalized touch. For comfort, top the gabion base with a custom-cut seat made from weather-resistant wood, stone slabs, or concrete.
The beauty of gabion furniture lies in its natural drainage capabilities and virtually maintenance-free existence. These benches develop character over time as the elements interact with the materials, making them increasingly integrated into your landscape.
10. Adirondack Chair from Shipping Crates

Transform wooden shipping crates into iconic Adirondack chairs that combine classic design with repurposed materials for an eco-friendly seating option.
Disassemble shipping crates carefully to preserve the wood planks. Create paper templates for the distinctive Adirondack shape or follow readily available plans online. Cut the wood according to your templates, sand thoroughly to remove any splinters, and round off corners for comfort. Assemble using outdoor-rated screws rather than nails for greater durability.
Apply several coats of exterior paint or stain in your preferred color, or use a clear sealer to showcase the character of the reclaimed wood. The wide armrests characteristic of Adirondack designs provide convenient surfaces for drinks and small plates, making these chairs particularly functional for outdoor entertaining.
11. Upcycled Door Table

Give new life to an old door by transforming it into a charming outdoor dining or serving table with vintage character and practical utility.
Clean and repair an old wooden door, retaining hardware elements like hinges and doorknobs for character. For stability, build a simple frame from 2x4s to support the door at your desired table height. Add cross braces for additional support if needed. Sand all surfaces thoroughly and apply multiple coats of exterior polyurethane or paint designed for outdoor use.
For a more polished appearance, consider adding a piece of tempered glass over the top surface, especially if the door has attractive panels or detailing. This upcycled piece becomes both a functional table and a conversation starter, with each door bringing its own history and character to your outdoor space.
12. Bicycle Wheel Fire Pit
Create an artistic and functional fire feature by repurposing old bicycle wheels into a unique fire pit that adds warmth and visual interest to evening gatherings.
Collect several bicycle wheels of similar size, removing tires and any plastic components. Arrange the wheels in a spherical or bowl shape, welding or bolting them together at intersection points. Create a stable base that elevates the structure slightly off the ground.
Insert a metal fire bowl in the center to contain the flames and protect the wheel structure from direct heat. Consider adding a hinged section for easy access to add wood or clean out ashes. This sculptural fire pit serves as both a practical heat source and an artistic focal point, particularly striking when flames illuminate the wheel spokes at night.
Conclusion
These DIY outdoor furniture projects demonstrate how creativity and resourcefulness can transform ordinary or discarded materials into functional pieces that enhance outdoor living. Beyond the practical benefits of customization and cost savings, creating your own furniture establishes a deeper connection with your outdoor environment.
Each piece carries the imprint of your personal style and effort. As you implement these ideas, don’t hesitate to adapt them to your specific space, material availability, and skill level. The imperfections and unique characteristics of handmade furniture often become their most cherished features.
Whether you undertake a single weekend project or gradually build an entire outdoor living set, the satisfaction of relaxing on furniture crafted by your own hands creates an unmatched sense of accomplishment and pride in your outdoor sanctuary.

